Step 1:
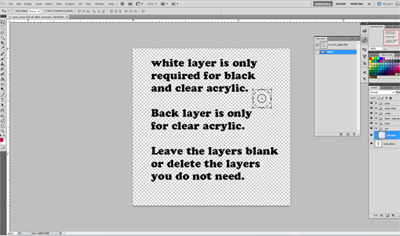
Download the template from our template page. Open the template in photoshop, you'll see that it has many premade groups and layers. Depending on the type of charm and upgrades you selected, some of the groups will not apply to you. For wood and white acrylic, you will not be using the back group, you can go ahead and delete that group at this time. If you ordered wood charm or clear acrylic without gloss upgrade, you can delete the gloss group right now as well.
Step 2:
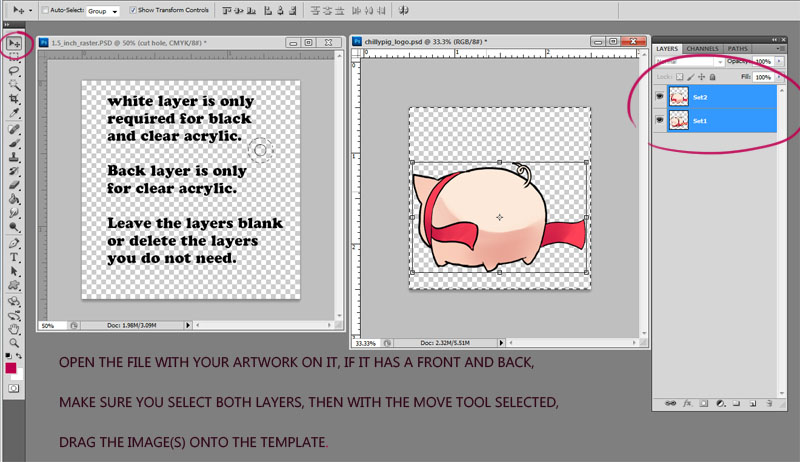
Open the file with your artwork on it. If it has both front and back, make sure you select both layers. With the move tool selected, drag the image(s) onto the template.
Step 3:
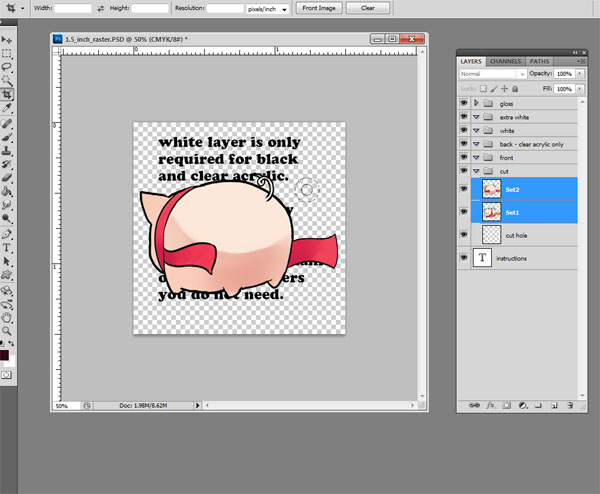
You'll now have your artwork in the template. Adjust the size to make sure it fits in the template if it's too big or small. For clear acrylic with double side: make sure you have both layers selected when you adjust the size to keep the layers lined up. Next you can drag the layers into the corresponding group. For a basic cut hole setup, move the cut hole to the desired spot. The solid line is where it will be cut. The dashed line will give you an idea how much space to leave between the cutline and the cut hole.
Step 4: (Skip this step if you are printing white acrylic charms)
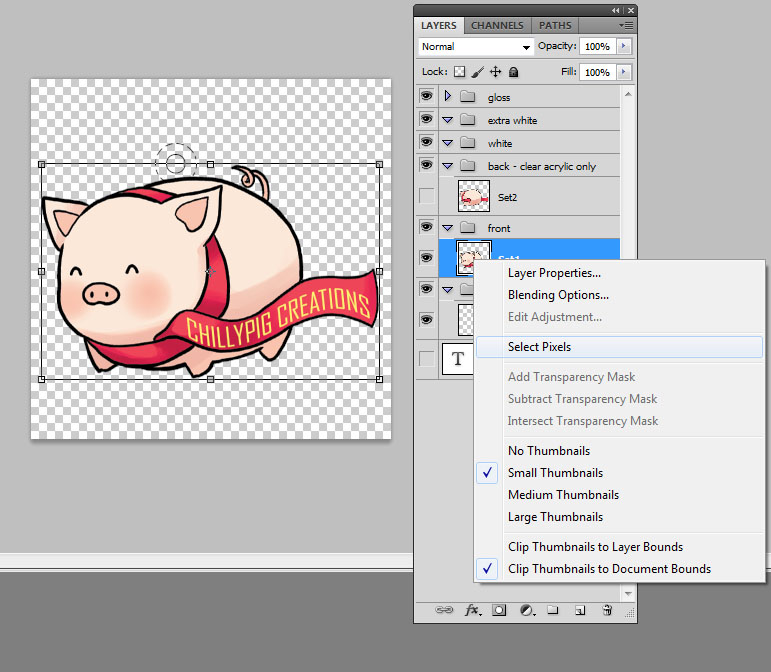
Right click your image in the layers > select pixel. Make a new layer in the white group, and fill the selection with black. Whatever is filled with black on this layer will be printed as white. If you'd like a translucent effect on some part of the charm, you can leave that part blank. I have filled the whole image with black because I want a complete white layer between my front and back image.
Step 5: (Skip this step if you are making wood charms or clear acrylics with no gloss upgrade)
White acrylic will have hi-gloss as a default, you will need to do this step if printing white acrylic charms. Make a new layer in the gloss group and fill it with black. Same as the last step, the black area will be printed with gloss. If you want spot gloss effect then only put black on the area you want the gloss.

NOTE FOR CLEAR ACRYLIC CHARMS:

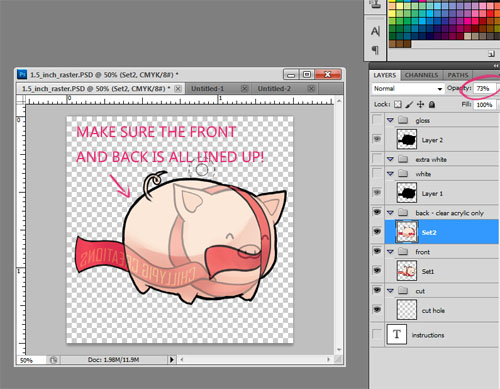
Remember when printing on clear acrylic, the front image will come out flipped when printed. So please make sure your image is facing the right way. (The back image will print like your see on the monitor) In the picture above, I wanted the letters to print correctly, so I flipped the canvas horizontally. This way when the charm is printed, the letters will be in the right orientation. If your front and back image is different, you will need to have extra white upgrade. During set up, make sure your front and back layers are perfectly lined up. You can check this by lowering the opacity on the back layer. (Don't forget to return the opacity back to 100% after you finished checking your images!)
Step 6: (How to make the cut line)
Now that you have all the layers set up, you will need to make a cutline. For a basic outline:
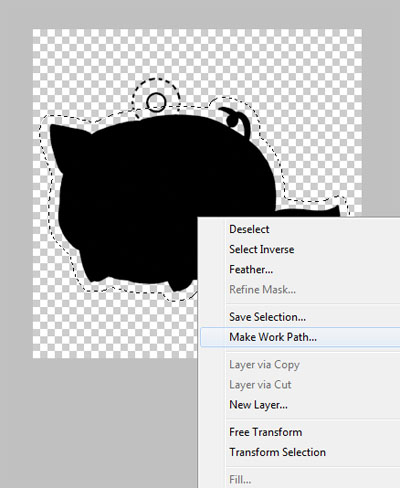
Step 7: (Save your work path)
Click on the path tab, double click on the work path you just made and rename it "cut". Save the file and name it with the format: Order#_TotalQuantityOrdered_Type_Size_Design_QuantityForThisDesign.psd (Order# provided in the confirmation email) - For example: Order45_Q500_Wood_1Point5Inch_1of25_20.psd

At this point you are all done! Follow the link on your confirmation email and upload the file. Give your self a pat on the back and let us do the rest!
Back to Top